Home Decor
GALLERY WALL 101
ALEISHA'S PERSONAL TIPS AND TRICKS FOR MAKING YOUR DREAM GALLERY WALL COME TO LIFE
I love gallery walls. I think they tell visitors to a home a lot about the people who live there. The various artwork, objects, and prints all picked out by the person (or people) who get to look at them every day – they tell a story and I think that makes them sort of like magic.
 |
I first started playing around with gallery walls in my college dorm room. I distinctly remember printing out a bunch of photos of me and my high school friends before leaving Minnesota and heading to college in California. When I moved in, those photos were some of the first things to go up on the wall alongside my bed. Each year that passed, I collected more and more artwork and had new stuff that I would want to include in my next gallery wall. To me, “artwork” means anything that is special to a person. | So sometimes that meant pages I loved from old Paper Source calendars, tickets from a fun concert, or business cards that I simply thought had cool designs on them. Other times that meant a painting I had created myself, a beloved print from one of my many trips to my favorite gallery back home in Minnesota (Golden Rule Gallery), or the first piece of fine artwork I ever owned from Ashley Mary. I’ll share some tips about picking out artwork for your own wall later in this post, but for now let’s get to the point — |
I’m here to inspire you to plan out your dream gallery wall and help you finally make it happen.
|
Image taken by Aleisha Nelson, Arlee Park's Shop Gallery Wall |
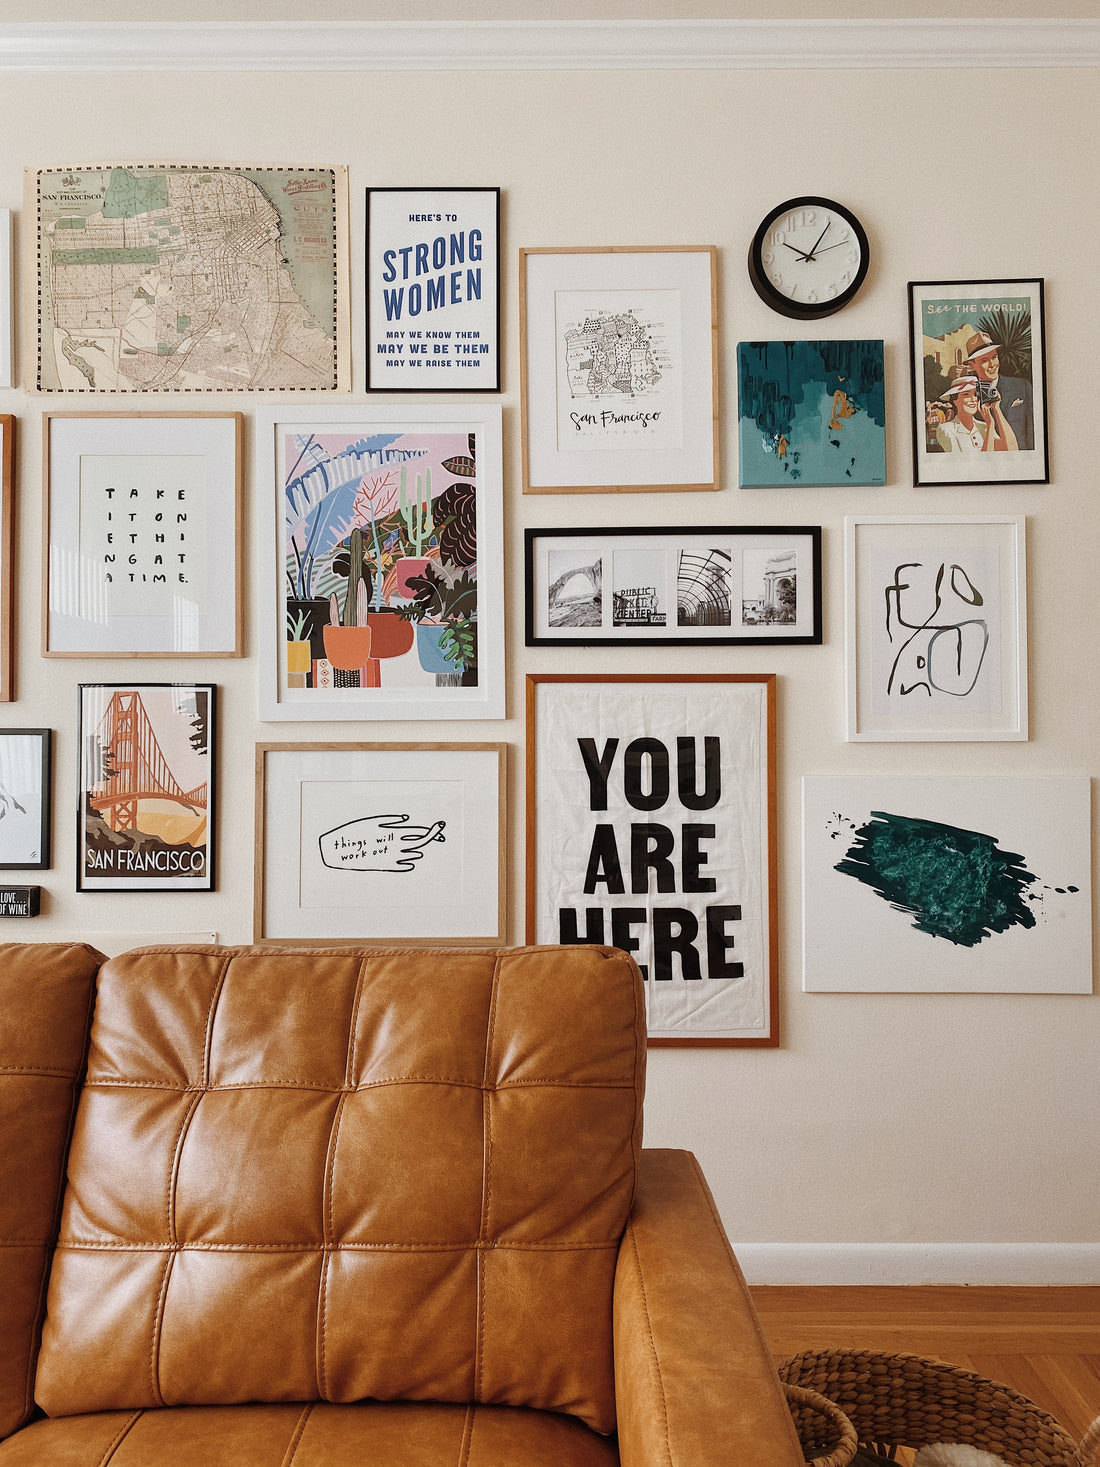
 Image taken by Aleisha Nelson | The gallery wall I designed for our living room in our San Francisco apartment Image taken by Aleisha Nelson | The gallery wall I designed for our living room in our San Francisco apartment |
 Image taken by Aleisha Nelson, my bedroom gallery wall in 2019 Image taken by Aleisha Nelson, my bedroom gallery wall in 2019 |

1. Deciding Where To Create Your Gallery Wall
Gallery walls can go anywhere in your home – on the largest wall in your living room, right above your toilet, or even tucked into a little corner in your bedroom or home office. I actually love corner gallery walls because they’re unexpected and I have one in my art studio. Before you get to the next step, you’ll want to determine where this gallery wall is going to go and you’ll want to be mindful of how much space you have to fill (or not to fill) as we go along!
|
|
|
 Above images taken by Beth Cath, property of Golden Rule Gallery.
2. Choosing What To Include
STEP 1: DO A HOUSE SWEEP FOR FUN, RANDOM OBJECTS |
My first piece of advice when deciding what to include in your gallery wall is to your home and see what you find that could potentially hang on a wall. I’m not talking about paintings or prints, I’m talking about objects. In my bedroom, I have a wooden cutout of the state of Minnesota and a circular mirror. In my living room, I included a clock, a felt message board, framed a bandana, and included a couple of those wooden boxes with messages on |
them that you’d typically find sitting on a shelf. In the past, I’ve even hung up a guitar or places a little floating shelf in between other pieces. These are the things that will make your gallery wall stand out. They’re unique and they add depth to the wall. The clock, for example, sticks out from the wall about 2 inches further than the rest of the pieces and it just gives the wall a different kind of dynamic. |
STEP 2: SHOPPING FOR NEW ART |
The next step is finding the artwork. I’ve participated in many craft fairs over the past two years and through that I’ve come to know a lot of amazing and very talented artists. It’s hard for me to leave an event without falling in love with a new piece that one of these artists have made. As you can probably imagine I have a lot of pieces to pick from, but keep in mind that my art collection has taken a couple of years to get to this size! If you don’t have a lot of choices right now, DON’T WORRY. Gallery walls can still look great with as little as just 3 items. |
If you already have pieces at home, definitely bring those into the mix. If you’re looking for new artwork (or objects), my all-time favorite place to shop is Golden Rule Gallery. They have a brick-and-mortar store that you can visit in Excelsior, Minnesota (I seriously stop by every time I’m back there) or you can shop her collection online. This is where I’ve found about 70% of my own collection. Erin, the owner, does such an incredible job finding new artists and curating her collection and I really don’t think it’s possible to go to her store or her website without making a purchase. |
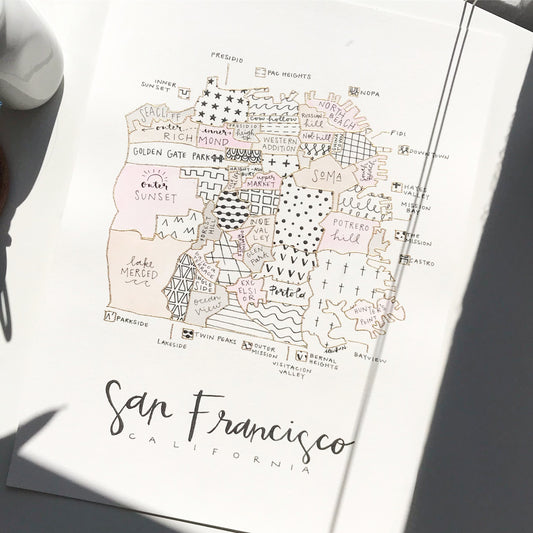
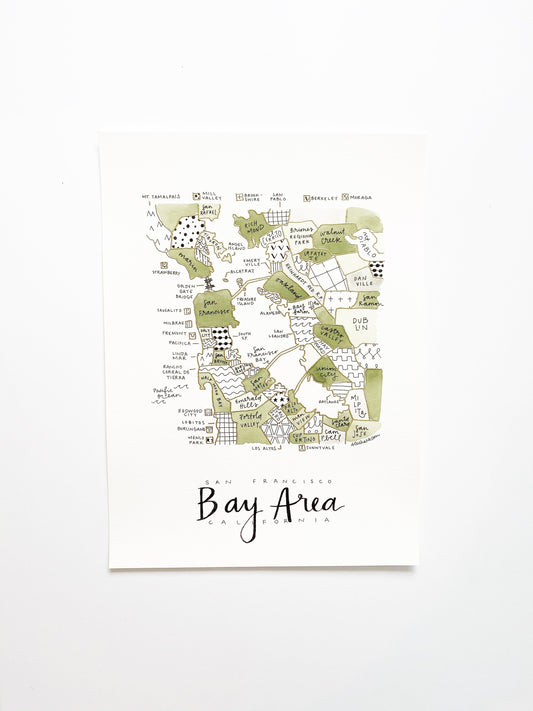
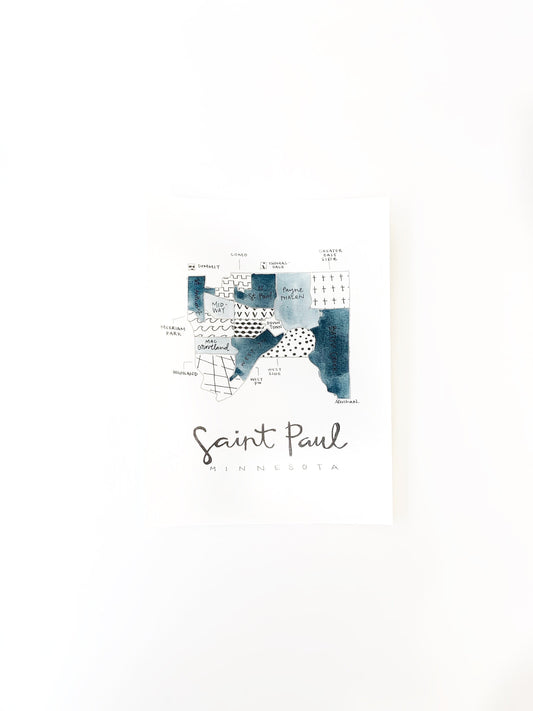
Another option for art and prints is always something from my own online store (shameless plug because why not include a map print that shows off your favorite place). In my living room, I have one of my own Travel Posters and one of my San Francisco Neighborhood map prints!
Next spot to shop: Arlee Park – it’s a vintage store with a modern twist owned by the sweetest twins. They have an online store where you can find some really cool throwback pieces for your wall. This is also where I’ve found most of the vintage books I’ve placed on my shelves and other objects to decorate spaces around the house.
As I mentioned before, I have participated in a lot of craft fairs throughout the United States and the organizations who put them on have a great community of artists and makers. My two favorites are Renegade Craft and West Coast Craft. Head to Renegade Craft’s Instagram page and parooze through their many posts about talented artists or head to the West Coast Craft link to view a whole list of the vendors who participated in the Los Angeles fair with me last winter! Here you’ll be able to find links to very unique artists and makers’ websites and shop from them directly, something that is so important to do especially right now during the Covid-19 shut down.
Lastly, you can always look at places like Urban Outfitters Home, West Elm, CB2, or Target.
|
|
 Above image by Beth Cath, Golden Rule Gallery
Some things to keep in mind when shopping for new artwork:
| Now you know where to go, but you might still be wondering what to get. I think a great gallery wall has a diverse selection of styles. This means a few pieces that only have words in them, some that are colorful, some that are just black and white, some pieces with dark backgrounds, some with lighter backgrounds, some pieces that are realistic drawings or paintings, and then maybe another one that’s more abstract. This is really key to creating a unique wall that’s fun to look at and flows well. | You could also scratch the idea of getting a variety of things and stick to all pieces within the same style. Take a peek at the photo I included below of Golden Rule Gallery’s Shop Wall where Erin (the owner) did an incredible job making a gallery wall out of just one style of artwork. You could also try doing an entire wall in artwork that is just black and white! | One more thing to keep in mind is the shape of the pieces you are buying. Unless you’re trying to go for more of a symmetrical block looking gallery wall, you won’t want to buy all 11”x14” prints or square pieces, for example. I usually try to buy a few small rectangular pieces, some larger rectangular pieces, some elongated rectangles, some squares, and maybe even throw in something circular (like a mirror or a clock). |
Some Fun Ideas for Unique Artwork To Include:
|
3. FRAMING THE ARTWORK
I used to create gallery walls with posters pinned into the wall and tape holding prints up from the back side. I’ve since graduated to the more formal gallery wall, in which everything is framed. When I made that switch, I quickly realized how expensive framing could be. So I did a lot of research and here’s what I found:
If you’re trying to frame all of your artwork in an affordable way, you’ll want to buy pieces that come in easy-to-frame sizes. This means pieces that are 16”x20,” 12”x16,” 14”x18,” 11”x17,” 11”x14” or 8”x10” or square pieces that are 12”x12” or 8”x8.” Of course there are easy ways to frame other sized pieces of art, but these ones are pretty standard.
The top two places I like to get my frames at are Target and Michael’s Stores – I’ve found that they have pretty affordable prices and a wide variety of options. I love going to Target when I’m looking for modern, thin white or black frames. I love shopping at Michael’s when I’m looking for a more natural wood look (Bamboo frames are what I have used to get this look in the past) or something more eclectic. One thing to remember is that if you are shopping at Michael’s, you can get 30-50% off with coupons! You can find these online or just ask the cashier when you’re checking out. I am on their mailing list and get 50% off almost any time I go in there, they always have a promotion running.
When framing pieces, I like to get a frame that is 2-4 inches larger than my artwork on the top and bottom. For example: if I’m framing an 11”x15” piece (like one of my maps), I’ll buy a 14”x18” frame. This gives the artwork a 1.5” white border.
For artwork that you cannot easily find a frame for, my honest opinion is to shop for custom frames from Walmart.com! Yes, Walmart. This is how I was able to find an affordable frame for my “You Are Here” Tea Towel from Golden Rule and for my Apprvl Bandana. Both pieces required a custom frame size and everywhere I looked, frames were over $100. The frames One caveat is that the frames I ended up going with from Walmart don’t have real glass in them. They’re made with plexiglass, but in my opinion you can’t really tell!
WOODEN HANGING FRAMES |
CHEAP, SECOND-HAND FRAMES |
VINTAGE FRAMES |
MIX AND MATCHING FRAMES |
| A fun and unique way to frame a photo without the crazy cost is with a wooden hanging frame (see the photo of my Los Angeles Map Print above for an example). These are usually around $15 and can be attached to any piece of paper material. | Facebook Marketplace is another place I would suggest looking if you don’t want to spend much money. I’ve seen a lot of frames for sale on there for really great prices. | If you want frames with a more antique or vintage look, I would suggest going to a thrift store, a Goodwill, a Salvation Army, or a flea market! I have found a lot of décor for my home at these kinds of places. They often sell framed artwork and sometimes I’ll buy it even if the only thing I like about it is the frame! This is a pretty easy way to get multiple frames for a great price, but maybe bring a tape measure so you can make sure you’re buying ones that are the right size! | You’ll want to use matching frames for a more modern, cohesive look. But if you want an eclectic or bohemian vibe, you could try mixing and matching frame styles. I personally like when most of the frames have a more modern and cohesive look, but I’m not afraid to throw in a vintage piece here and there. In my living room I used modern, thin edge frames and I stuck to 3 colors so that things wouldn’t get too busy – dark brown, black, and white frames. |
|
Above images taken by Beth Cath and Tiffany Kokal for Golden Rule Gallery |
 |
 |

4. DECIDING WHERE EVERYTHING GOES
Lay Everything Out On The Floor
My strategy is to take my tape measure and lay it all out on the floor. I’ll measure the length of the wall I’m working with and then subtract about 6 inches or more from either side. Then I put that big statement piece either somewhere in the middle or off to the side. You should really decide if you want a center anchor or a side anchor for your wall. Check out some of the photos I’ve included in this post to get a feel for what you like. More importantly, you’ll want to be sure not to place that piece too high or too low because that’s one way to start off on the wrong foot.
Next, I envision an imaginary line along one of the sides of that big statement piece. This can be horizontally along the top or bottom or vertically along one of the sides. In my living room, I drew that line across the top of the piece.
Next, I place a different sized piece along that imaginary line. You’ll want this piece to be a different size than the first print because that allows you to have different edges to place more pieces along. In my living room, I started with a very colorful piece in the center, so I purposefully placed a smaller black and white print next to it. The second piece is also a quote rather than a picture of something – being mindful of these little things is what will give you that diversified look in the end.
The following steps can be time consuming and will require you to play around a bit before you find the right look. Don’t give up! It will be worth it in the end. In my living room, the third piece I placed was the black and white print below the colorful centerpiece. Next I aligned a smaller more colorful piece to the left of that, making sure it was also aligned with the other black and white print I already placed. From here, you’re a little on your
A Note on Spacing Between Frames
A good rule of thumb is to have at least 1-2 inches between pieces. Some people might tell you every gap on your wall needs to be the same – and I would agree with that, but you shouldn’t be afraid to mix up those gap sizes a little bit if you need to. If you end up having to fit a small piece in a large open space, just make sure it’s centered and I promise you it won’t look that weird.
Once you find your layout, take a photo
Now, remember that this is all on the floor. So once you find the layout you like, take a photo. I always take a photo because I know I’m bound to forget what I liked where. Of course as you’re hanging the pieces up on the wall you’re free to change your mind, but it’s good to have a solid photo and “first draft” to work off of.
|
|

5. NOW, LET’S GET THAT ART ON THE WALL
Now that you have the artwork and know where you want to put it, let’s hang it up.
What You’ll Need:
|
· A Hammer · Frame Hanging Nails (Make sure you have some for heavy artwork and light artwork… reword this???) · Tape Measurer · A Pencil · A level (the “Measure” App that comes built-in on iPhones works fine for this) |
I’ve seen a few online articles where people suggest cutting out paper in the shapes of all the pieces you have and then taping them to the wall to see how it will all fit. I personally think that’s a lot of added work, but it probably does help to decrease the number of holes you nail into the wall. I’m an eager beaver and like to just start nailing things into the wall. I always hang the statement piece first and then I slowly hang each piece around it.
Use a Tape Measure and Pencil Religiously
I use my tape measure and a pencil religiously – making little tick marks on the wall where the nails should go in order to align with the hook(s) on the back side of the frame. You’ll want to be very careful with your calculations here especially when it comes to how high or low the nail should be. Don’t stress out if it takes a few times to get it exactly in the right spot – this part is tricky!
Making Sure The Frames Are Level
If you want to ensure that everything is straight, you can use a level on the top of each frame. This is especially important to do with the first few pieces. If the first group of frames aren’t level, even by the slightest amount, it will become very obvious once you add more and more pieces to the wall. You should also use this tool when hanging a frame that requires two nails to hang it. Frames with just one hook typically straighten out on their own. If you have an iPhone, you’re lucky because I know you already have an app built in called “Measure” which has a level feature.
WOW, YOU JUST CREATED A MAGICAL NEW SPACE IN YOUR HOME
|
|

If you made it this far, thank you so much for following along. I would LOVE to see your beautiful new gallery walls so If you snap a photo and share it on Instagram, please feel free to tag me
@ARTBYALEISHA
You’ll also have a chance to be featured on my page if you do! You can also let me know what you think about this article / ask me more questions by sending me a message on Instagram or by commenting below!